Custom Bokeh Shape using a Bokeh Filter
In real-world photography, bokeh filters are typically applied over the cameras lens which changes the shape that light passes through before it gets to the aperture. Since KeyShot function like a real-world camera, you can us it to achieve the same effect by adding a bokeh filter in front of your camera.
1. Create a Bokeh Filter
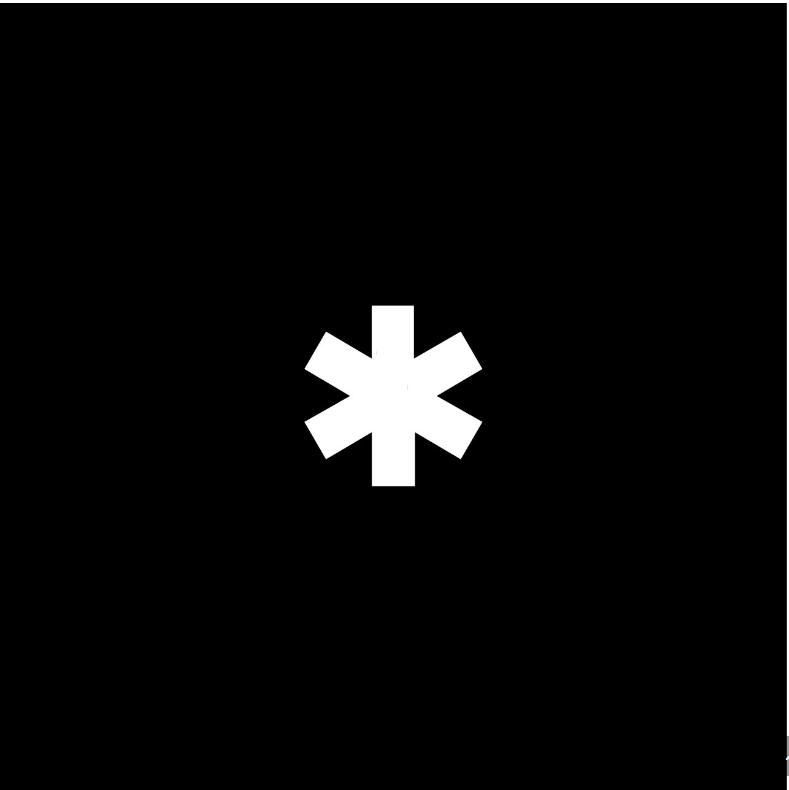
To create a digital bokeh filter, you’ll create a simple image of a shape. Using a graphics program, like Photoshop or GIMP, create a black background and add the shape as a white silhouette. The shape can be added using the text tool or as a .png with transparent background. It should look similar to the image you see below.

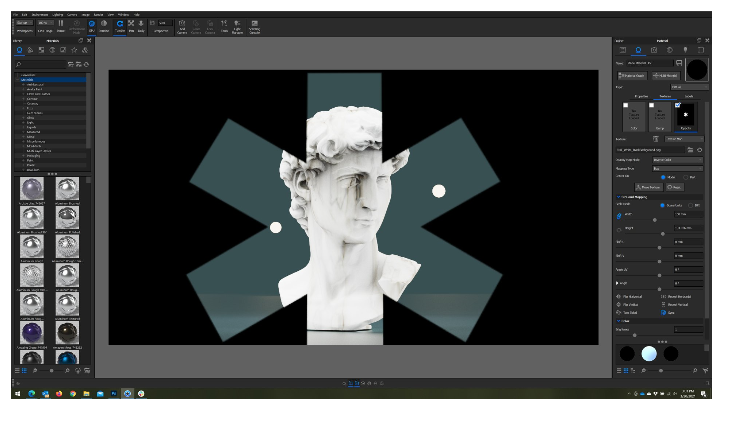
This can be any shape you like. Next, add a plane in KeyShot (Edit, Add Geometry, Plane or Ctrl/Option + 5) and position the plane in front of your camera. To help adjust the plane, use the Geometry View (Window, Geometry View or O-key). It provides another view to help position the bokeh filter while also seeing the effect in the Real-time View.
2. Add Bokeh Filter to Plane as Opacity Map
Now, double-click the plane to activate the Project, Material tab and select the Textures sub-tab. Locate your shape image, then drag-and-drop it onto the Opacity texture slot to load the shape as an opacity map. Change the Opacity Map Mode to Inverse Color, and make sure to deselect Repeat Vertical, Repeat Horizontal and Two Sided mapping options. (View settings below.) This will position the shape, now seen as a cutout, directly In the center of the plane. Now, we have our bokeh filter!

3. Adjust Size and Activate DOF
At this point, you’ll want to adjust the plane and camera so that your filter expands beyond the edges of the Real-time View - this can depend on shape but generally, the shape should be approximately one-fifth larger than the Real-time View height. If not already, enable Depth of Field for the camera to generate the bokeh effect.
4. Adjust Camera and Environment Settings
Once you have everything set up and the Depth of Field dialed in, you may notice that the scene has a heavy vignette (dark area around the edges) and is overall under exposed. Under the Environment tab in the Settings section, adjust the Exposure and Contrast settings and any HDRI lighting to compensate for the under exposure caused by your new filter. At this point, you should have a properly exposed scene with your custom-shaped bokeh appearing as the scene resolves.

Pro Tips
Here are a few things to keep in mind that will help streamline your experience while creating and using bokeh filters in KeyShot.
2. Use fewer light sources
Using too many light sources can cause the bokeh to overlap and blend together, loosing much of their sharpness. Unless this is the look you need, try using fewer light sources.
3. Use a smaller light source with higher intensity
The size and brightness of your light sources will determine how sharp and visible your bokeh effects appear. Using a smaller light source with a higher intensity will create a clearer bokeh effect, and may allow you to use a higher f-stop while reducing the amount you need to adjust environment lighting.
Hopefully this method for creating bokeh in KeyShot will help you on future projects. And remember, literally any shape can be used to create a bokeh effects, so feel free to experiment, explore, and create unique and unexpected compositions. You can learn more about KeyShot Camera settings in the KeyShot Manual.
© Copyright 2000-2026 COGITO SOFTWARE CO.,LTD. All rights reserved. 京ICP备09015132号-52