KeyShot 8 brings us a lot of exciting new features. One of these features is the new geometry node/shader capability. Geometry nodes directly transform your geometry in a non-destructive manner. Geometry nodes are able to add to, subtract from, or reshape the geometry and are often driven by textures. This allows you to create 3D textures on surfaces or control the entire shape of the geometry.
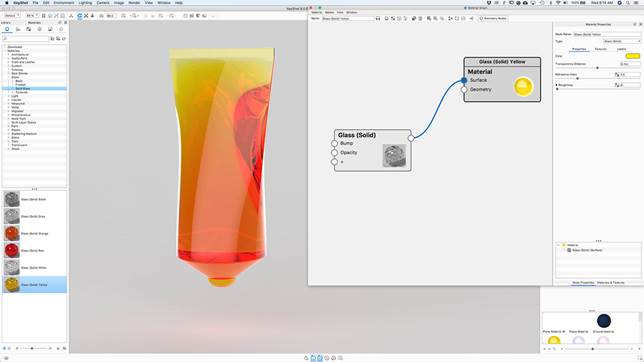
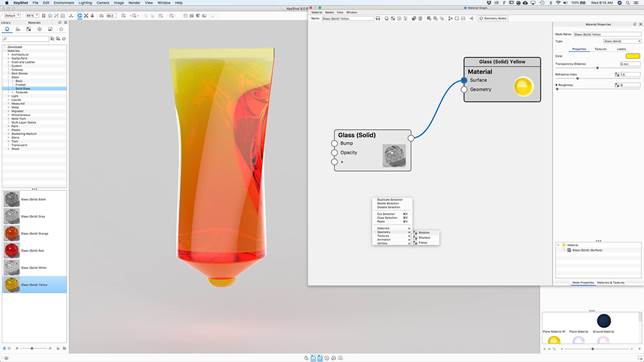
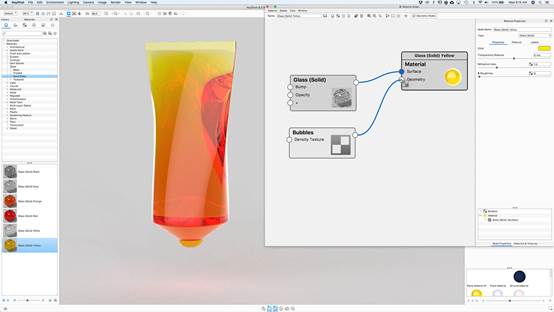
One of KeyShot 8’s geometry nodes is called Bubbles. In KeyShot, bubbles are sphere-shaped cavities of air trapped within a solid. Use the Bubbles node when you want to add random variation and distribution of air bubbles inside the material of your object. Make sure the material is transparent to some degree, otherwise the bubbles will not be visible. To make the bubbles appear in your geometry, connect the Bubbles node to the Geometry socket of the root Material node.
So, when would you want to add bubbles to a material inside KeyShot? Over the years, KeyShot has helped designers, engineers, and others share ideas through its rendering and animation capabilities.
KeyShot is all about simulating light and materials accurately. Sometimes, we need to render materials that contain small imperfections or cavities. Modeling these imperfections or air cavities is prohibitively tedious and time-consuming.
However, the Bubbles geometry node makes adding such such qualities to a solid quick and easy. Examples of when you might add bubbles to a material include:
By using a single geometry node in KeyShot, you can push and pull a few sliders to add any variety of bubbles to any solid.
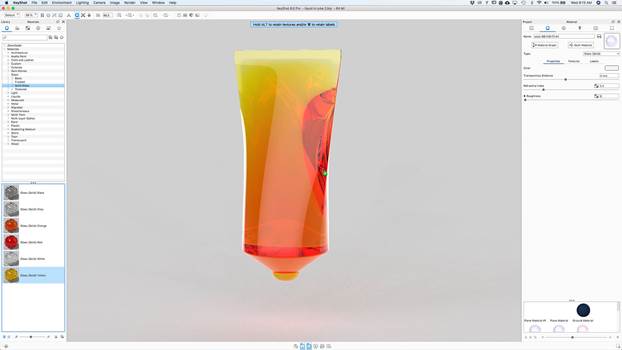
Here’s the step-by-step on how to do it:
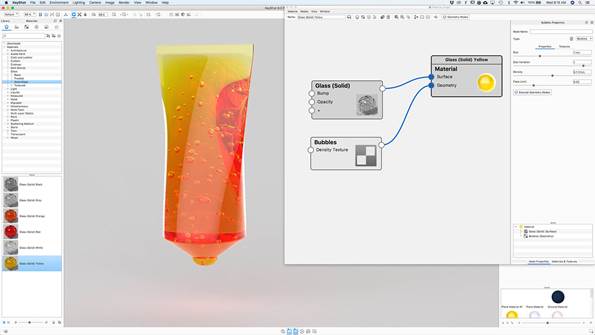
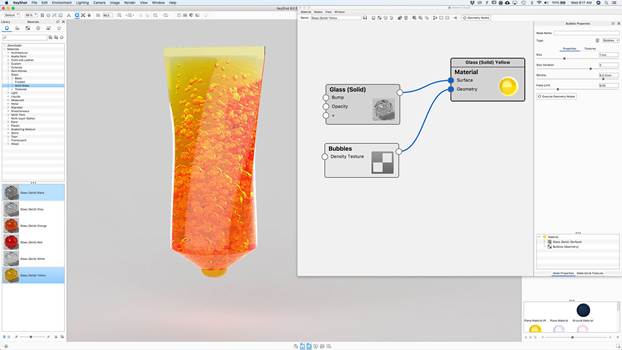
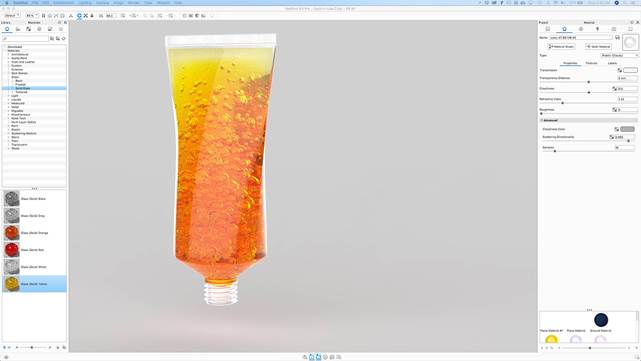
The next time you need to add bubbles to a model, follow the steps above and you’ll have bubbles in no time! For more detailed information, consult the KeyShot 8 online manual. For a visual demonstration, please view the Bubbles Quick Tip below.
© Copyright 2000-2025 COGITO SOFTWARE CO.,LTD. All rights reserved. 京ICP备09015132号-52