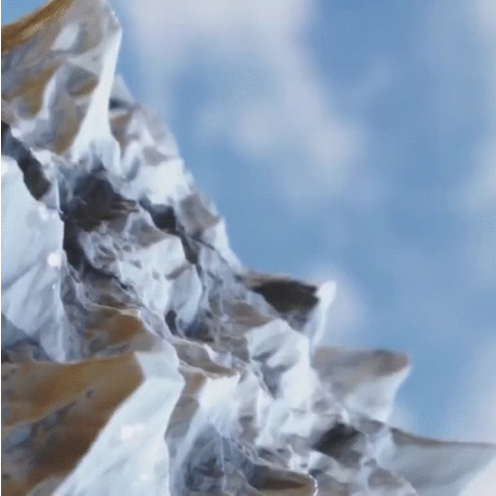
Displacement is a very powerful tool. It allows you to transform the surface geometry of your object and take your renders to the next level of detail and realism. Here's how to bring it to life with animation.
Animating geometry has a wide variety of applications to illustrate the movement of surfaces and objects. While this tip shows a more abstract example, you'll find other applications include animation of water, blood flow in medical illustration, bike/car tire compression, material movement for softgoods, and so much more. If you can create an animated displacement map you can use it in KeyShot to create motion. Follow along in the video or with the steps below.

For this Quick Tip, we'll use a simple plane from the KeyShot Model Library. In the KeyShot Library window, select the Model tab, then double-click the Plane model to add it to your scene.
Double-click your object to display the Material tab, then select Material Graph. Right click to select and add a Displace node from the Geometry menu. Right click again, select Texture and add a Video Map node. When this is added, you'll see it appear in the Animation Timeline (Window, Animation or select the A-key to display the Animation Timeline).
Note: The Material Graph is available with KeyShot Pro.
Double-click the Video Map node to open the Video Map Properties. You will need to import your video by clicking the folder next to the Frames list window. Navigate to the video file location and select Open. If you created a PNG or JPG sequence, you can import those images as well. KeyShot will automatically convert a video file into your choice of a PNG or JPG sequence and place the images into your specified location.
Once your frames are imported, make sure your video map is selected and hit “C” on the keyboard to preview the color of the video map in the Real-time View. From there you can adjust the location and scale to your liking. Hit “C” on the keyboard again to exit color preview mode. Connect the Video Map node to the Displace node, and the Displace node to the object's Geometry connector. Make any height adjustments needed within the Displace Properties then select Execute Geometry Node to generate your results. You can also apply texture maps to this geometry for added customization.
If you scrub the Animation Timeline, you won’t see the animated displacement, since the geometry needs re-execute at each frame to keep your machine from bogging down. A quick way to preview your results is to select Preview at the end of the Animation Timeline menu.
© Copyright 2000-2025 COGITO SOFTWARE CO.,LTD. All rights reserved. 京ICP备09015132号-52