[KeyShot Tips] Split Object Paint Selection

KeyShot Pro comes with many geometry tools to manage and work with your imported models. One of those is the Split Object Surface Tool. Today, we'll look at the tool and the Paint Selection feature for quick selection and splitting of model surfaces.
To get started with the Paint Selection feature, open the Split Object Surfaces window by going to the Ribbon menu and selecting Tools, Split Object Surfaces under the Geometry Tools or by right-clicking on a surface and selecting Split Object Surfaces.
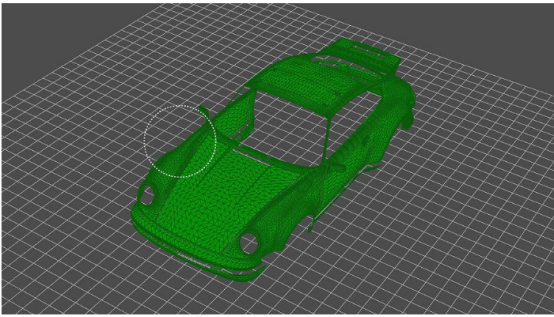
With the window open, you’ll see options under the Splitting Method with Polygons for both marquee selection and the brush selection. Here, you’ll also find the Brush selection size slider, which can be controlled via the numerical input field or adjusting the slider between the values of 0.01 and 0.2.
Make sure the Polygons option is selected, set the brush to the desired selection size and begin painting the surface you would like to split. To continue adding to your selection, simply hold down Ctrl (Windows)/Option (macOS) and Alt-key together. This will ensure all selected polygons are grouped together and makes it easy to paint complex surfaces or different sides of the model.
This is just one way KeyShot is making selection and geometry editing easier and the beginning of more paint capabilities to come.
We would love to see what you create with this tip. Visit the KeyShot Amazing Shots forum to see what others are creating and share your own work. And if you have a suggestion for another tip share it in the comments below.
© Copyright 2000-2026 COGITO SOFTWARE CO.,LTD. All rights reserved. 京ICP备09015132号-52