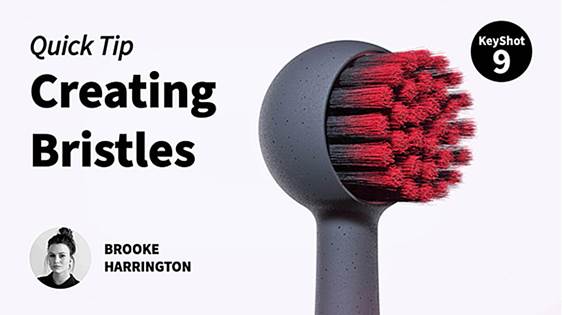

Adding bristles to a model may seem challenging but KeyShot Pro makes it a snap. Whether it's a pattern of fibers, variations of one style, or multiple combinations of each, KeyShot Fuzz allows you to create a wide variety of brush bristle appearances.
KeyShot Fuzz for Bristles and More
To create bristles in KeyShot, you don't have to worry about modeling any individual fiber or shape to represent the bristles. All you need is a surface - KeyShot Fuzz will take care of the rest. Though you may have seen fuzz used to create subtle cloth fibers, it is used to create everything from velcro and comfy rugs to grass and hairbrushes. Let's take a look at how it's done.
The electric toothbrush model with bristle head shown in the video is set up for you to explore and available for download on the KeyShot Cloud page.
1. Separate Your Surface
First, separate the surface for the bristles from the rest of the model. Do this in your CAD software or by using the Split Object Surface (a KeyShot Pro tool). This needs to be a separate surface so you don't have unwanted Fuzz fibers growing off of these other surfaces.
2. Select Your Surface
Next, double-click that surface to edit the material and select Plastic from the material Typedropdown. Now, select Material Graph in the Material tab. In the node editor window, right-click and select Geometry, Fuzz.
3. Add a Density Texture
Attach the Fuzz node to the Geometry socket of the surface node. To get a controlled bristle effect, add a Density Texture. The Mesh texture in KeyShot is a great option, but for the toothbrush model, I created an image with a custom pattern. Press the C-key to isolate the node for easier sizing and positioning.
For any texture, black areas will show no fibers, gray areas will show fewer fibers, and white areas will match the density set in the Density parameter. Select Execute Geometry Node to refresh the geometry. Now, let's jump into those Fuzz properties.
4. Adjust Your Fuzz Properties
Adjust the Fuzz properties as needed for the look you need. Make sure to add a little length variation (bristles are rarely perfectly uniform) and absolutely increase the randomness just a bit (by default, fuzz fibers are perfectly straight) for a more natural-looking, fanning out effect towards the end of the bristles. When you're ready to see the change, update the geometry.
5. Take it Further
If you want to take it one step further and better control the appearance of the fuzz fibers, simply attach a material to the Surface socket of the Fuzz node. To create a gradient across the fibers, add a Color Gradient texture and attach it to the Diffuse socket of the Material node.
Now you can see how easy it is to create bristles that look like they’re from a brush, toothbrush, broom, or many other products. You can learn more about Fuzz in the KeyShot Manual.
© Copyright 2000-2025 COGITO SOFTWARE CO.,LTD. All rights reserved. 京ICP备09015132号-52