IN this new instalment, we explain how to use RailClone and Forest Pack to create rugs and parquet floors including several techniques to control materials and create patterns.
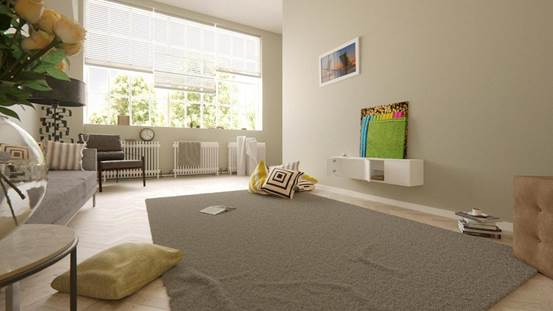
Rugs are much loved by interior architects and visualisers - they can provide a focal point, offer a soft counterpoint to the hard edges of a room, and invite the viewer inside the image to curl their toes into the soft pile.
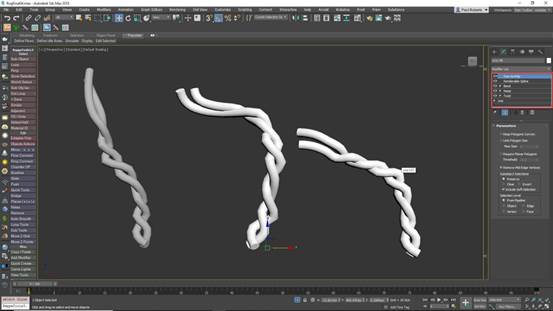
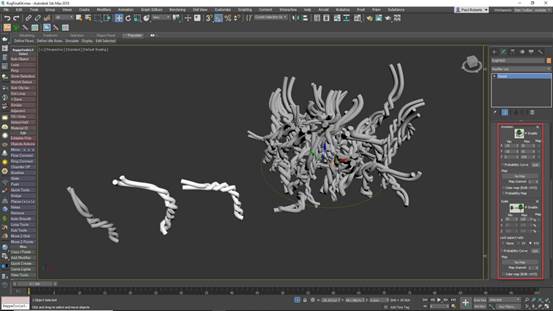
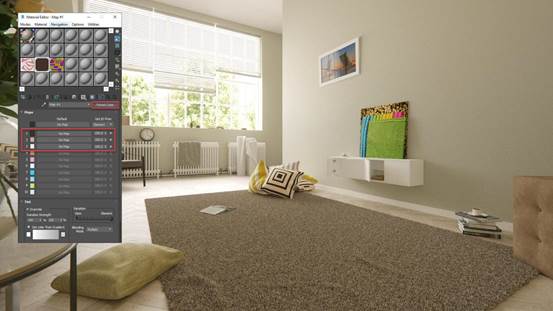
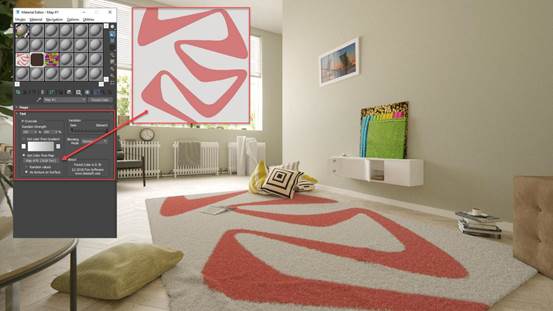
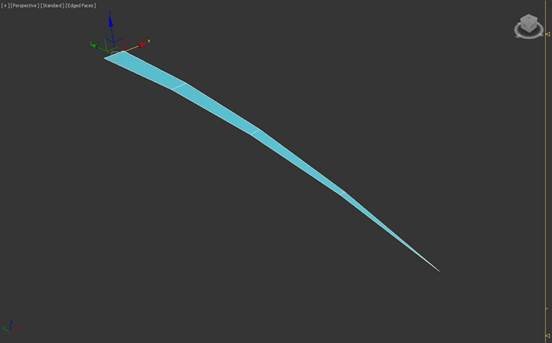
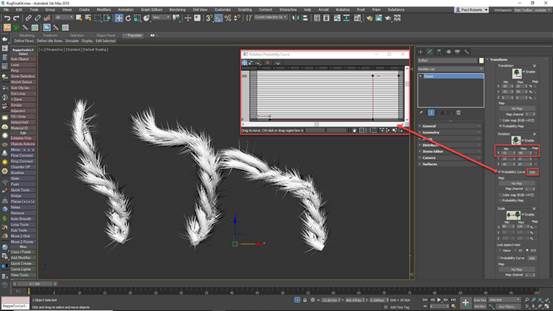
In this tutorial we will look at how to use Forest Pack to create rugs by scattering small patches of actual geometry. This approach benefits from allowing you to precisely model the pile for your rug in as much detail as you need, a thread at a time if necessary. Thanks to instancing, in most cases it will also use less memory and render faster than displacement or Hair and Fur approaches.
While we’re considering what’s under our feet, we can also look at how to create two types of fully parametric wooden parquet floor using RailClone. Texture-based approaches have their limitations - by using real geometry we can add subtle transform randomisation as well as using a simple technique to disguise texture repetition and add a random value tint to individual planks.
The majority of this tutorial can be completed with the free versions of Forest Pack and RailClone. These Lite versions don’t allow you to scatter on undulating surfaces, so you won’t be able to create wrinkled rugs. But if you don’t plan on introducing trip hazards to your scenes, there’s no reason not to give it a try!
Create the spline and plank objects
To create the floor we need to define the boundary of the room using a spline. To do this, enable Vertex Snap and draw a closed spline around the perimeter of the room. How accurately you adhere to this boundary depends on if you are creating renders in adjacent spaces. If not you can simply create a rectangle that’s large enough to encompass the entire area. We also need a single wooden plank for the floor. Create a box of the desired size and enable Generate Mapping Coordinates and Real World Map size. Add a Chamfer modifier to crack the arris.
Create a RailClone object
Create a new RailClone object and open the Style editor using the button in the Style rollout. Add a new A2S Generator. This node is used to create two-dimensional arrays. Automatically size the array to fill the spline created in the previous step by adding a Spline node, picking the spline from the scene and wiring the node to the Generator’s Clipping input. Enable Extend X/Y Size to Area. Next, create a Segment node, wire it to the Default input, and use it to pick the floorboard object from the scene. You will now have a simple floor, but all the joints will be in line.
Export parameters and attributes
To randomise the rows so that the joints are offset, first add a new Transform node to the Generator’s Start input. Then wire the existing segment node to the Transform node. We will randomly move these start segments to the left so that they’re clipped by the spline, but we never want this offset to be larger than the length of a single board. Usefully, we can automatically find the size of the segment and use it to drive any parameter. To do this, right click on the Segment node and select Export Attributes > X Size.
Use Random Number generators
Next, select the Transform node and export the Left Padding property. Click the Padding checkbox to enable the Transform node to override the Segment’s settings. Wire a new Random Number node to the Left Padding input, change Type to Scene Units and the Generate On option to Segment. Export the Max (Scene Units) property and wire it to the Segment’s X Size output. This will add a random Padding value to the start of each row, but because it is a positive value the boards are currently moved to the right, away from the boundary. To fix this we need to convert the Segment’s X Size to a negative value.
Using Macros
In addition to the core nodes, RailClone includes several handy macros to add extra functionality to your graph. You can see a full list of these by choosing the Macros tab in the Items list. In this example, we’ll use the Invert Value macro to automatically turn a positive number into a negative, and vice versa. Wire the Invert Value macro to the Random Number node, and wire the Segment’s X Size attribute to the Macro. You will now have a floor with randomly offset joints, and because the distance is based on the size of the segment, you can easily change the size of the plank and the style updates automatically.
Create a herringbone floor
Let’s turn this into a herringbone style to create a second type of floor. Delete the nodes connected to the Start input. Find the macro called Segment -> Herringbone and wire it between the Segment node and the Generator. This macro takes care of all the calculations required to create a herringbone floor, all you need to do is change the size of the plank by editing the source geometry. If the boards don’t quite reach the perimeter of the floor, increase the Generator’s Clipping Area > Expand property to enlarge the array. You can now easily add randomisation to the planks using the Segment’s Transform > Random properties.
Randomise and Tint Maps
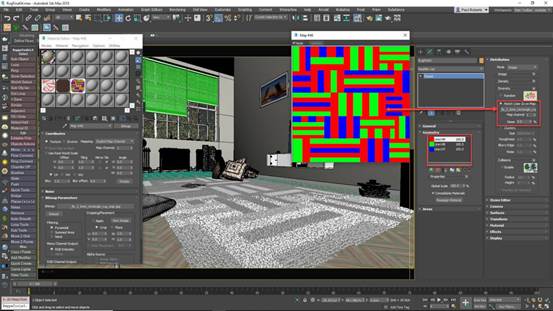
Avoiding repeated textures on a wooden floor is always a challenge, but RailClone has several features that can help to disguise it by manipulating the UVs and the maps themselves. In this example, the material uses a single tileable diffuse map that we’ll randomly offset to hide repetition. To do this, add a UVW XForm node between the Macro and the Generator. Enable Random Offset and enter the same values used for the map’s real-world size. You can also add a RailClone Colour map to the material and enable the Tint override feature to subtly randomise the colour or brightness per plank.
© Copyright 2000-2025 COGITO SOFTWARE CO.,LTD. All rights reserved. 京ICP备09015132号-52