We’re pleased to introduce ‘RailClone Xmas Tree III', our latest tutorial for RailClone and RailClone Lite. Wishing you a merry Xmas and our best hopes for 2020.
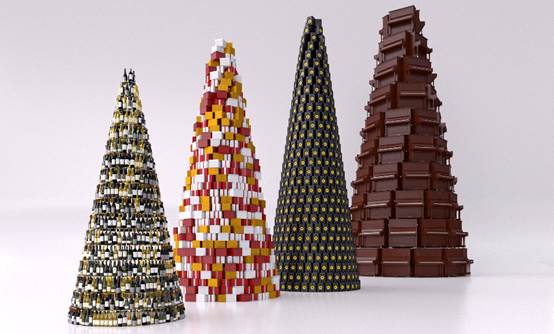
As everybody knows, Christmas is all about tradition, and so here is our annual tutorial demonstrating how to use RailClone to model an unconventional Christmas tree. This year we'll demonstrate how to stack any model, either your own or a stock object, into a cone to create an eye catching "tree" from nearly any geometry. Along the way you'll learn some core RailClone skills, pick up some tips for using the A2S Array's Y Mode settings, and see the power of using simple expressions. Let's get started.
Creating the "Tree"
- Create a new circular spline to define the footprint of your "tree".
- Create a new RailClone object and open the style editor.
- Create a new A2S generator. This is used to create 2D arrays and it features the ability to control the X and Y sizes with either splines or numeric measurements.
- For this example we'll use the circular spline for the X axis, and a value for the Y axis. To add the spline, create a new Spline node and use it to select the circular spline from the scene. Wire the spline node to the Generator's X Spline input.
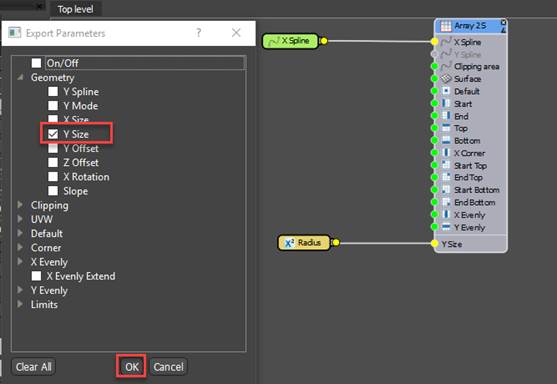
- To control the Y size, you could use the parameter in the Generator's properties, but to make it easier to edit we'll export it to the Modify panel. To do this, right-click on the generator and select Export Parameters. Select Y Size and click OK.
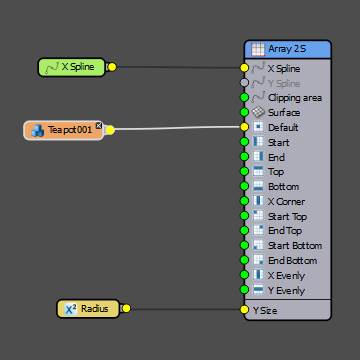
- To add a parameter to the Modify panel, we add a Numeric node. Name it Radius, change the Type to Scene Units, and wire it to the Generator's Y Size input.
- We can't see the results of this yet because we haven't added any geometry. Create a new Segment node and pick an object from the scene, (for this example we'll use the venerable 3ds Max teapot). Wire the segment to the Generator's Default input.
- We don't want to cut this object, so disable Slice in the Segment's properties. You may also want to disable Bend to prevent the geometry from being deformed to follow the curvature of the spline.

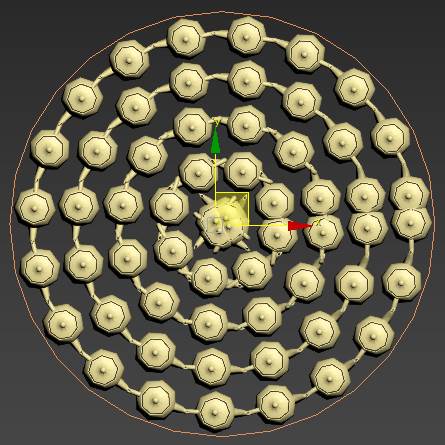
- You can now edit the Radius value and the array will expand towards the centre of the spline.
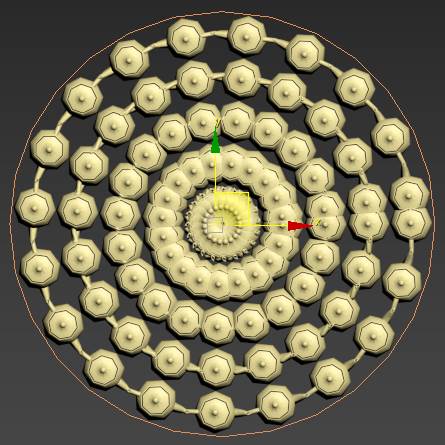
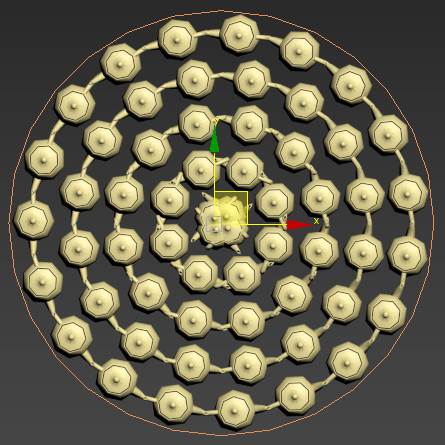
- As you can see, the number of teapots in every row is identical. This means that as they get closer to the centre they must overlap. There is a little-known mode in RailClone that allows the segment count of each row in a 2D array to be calculated independently. To enable it, go to the Generator's properties and change General > Y Mode to Free.
- You will see that the segments overlap at the end of the array. This is because the teapots don't fit exactly into the circumference. To fix this, change the Generator's Properties > Rules > Default mode to Adaptive. This will subtly scale the geometry to ensure whole segments fit in the available space.
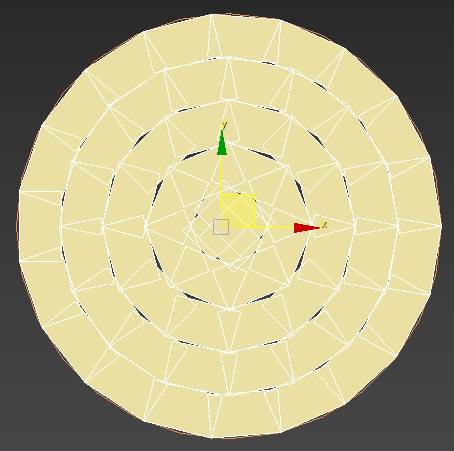
- To calculate adjacent segments, RailClone uses the object's bounding box. The side used for the calculation depends on the Alignment settings, and if we turn on Box display mode we can in this example that the outer edge is being used. This explains the overlap, if the outer edge is touching, the inner edges will overlap.
- To fix this we can change the Segment's alignment by adding a Transform node between the Segment and the Generator. Enable Alignment and change Y to Top.
The segments are now aligned to the inner edge and no longer intersect.
